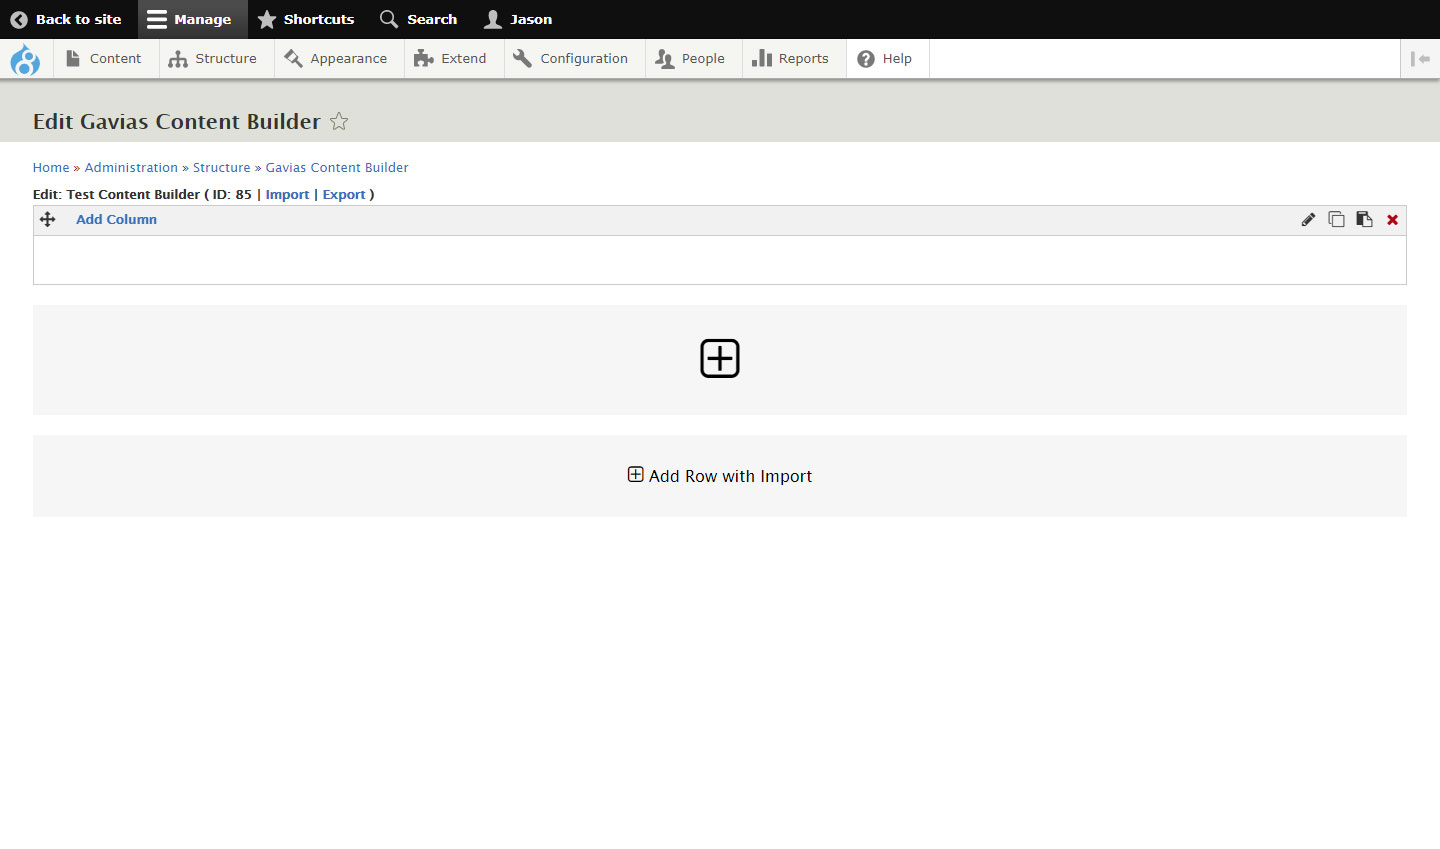
Once on the UI for your content builder, you will see the work area already prepopulated with a row (See image below for what it looks like).
You can add as many rows as you like by clicking on the Plus icon under every last row. But for now let's try working with one first.
Begin Adding Columns
To add a column inside our row, hover on the 'Add Column' link on the top left side of the row.
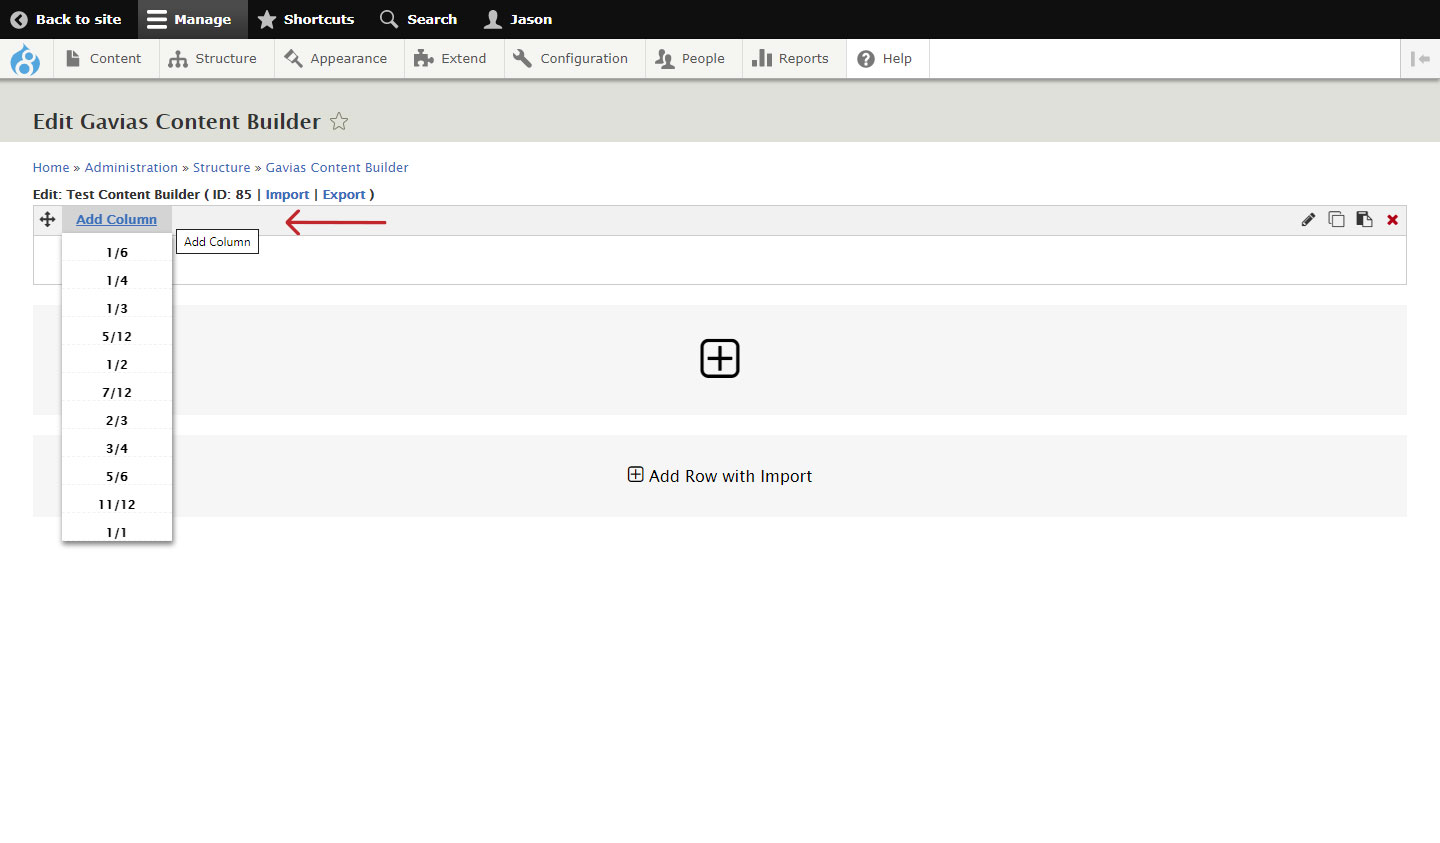
A sub-menu selection of various column-sizes that can be added will fade into view. These column sizes are fractions that allow a number of possible column combinations based on a 12-column grid framework.
To illustrate, let's say we want to have 2 columns inside the row, and we want to specify the sizes of each column, the possible column size combinations would then be...
- 1/2 - 1/2 (two equal size columns or 50%-50%)
- 2/3 - 1/3
- 3/4 - 1/4
- 7/12 - 5/12
Let's say we want to insert 3 columns in our row, the possible combinations would then be...
- 1/3 - 1/3 - 1/3
- 5/12 - 5/12 - 2/12
- 1/2 - 1/4 - 1/4
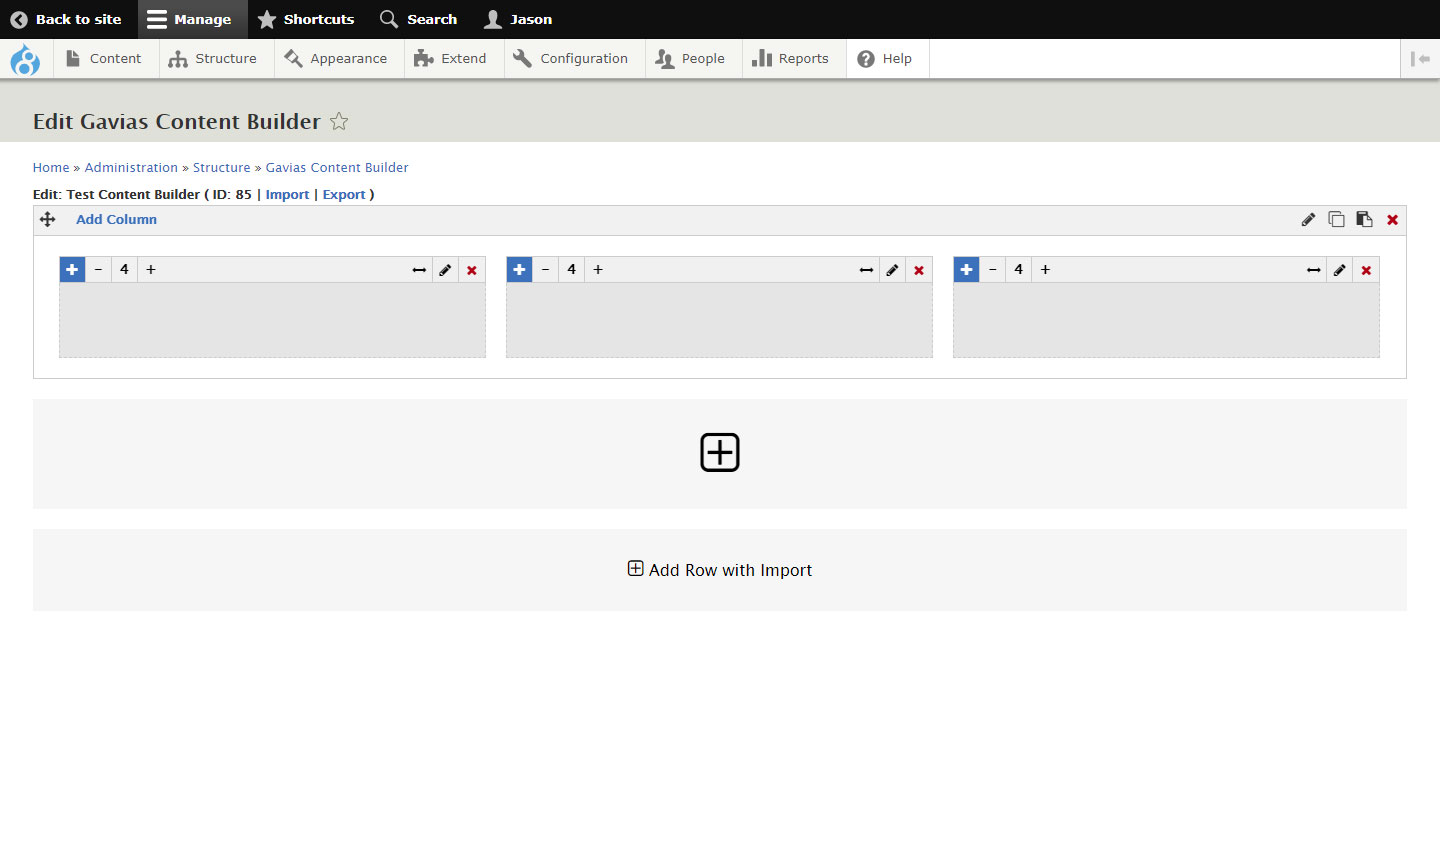
A column combination of 1/3-1/3-1/3
It is also possible to insert just a single column, we can add...
- 1/1 (a fullwidth column)
These are just some basic combinations, you can explore more depending on your needs.
Once the columns are in place and distributed inside the row according to your liking, we can begin to add content inside them.
Next, Essential Content Builder Elements